
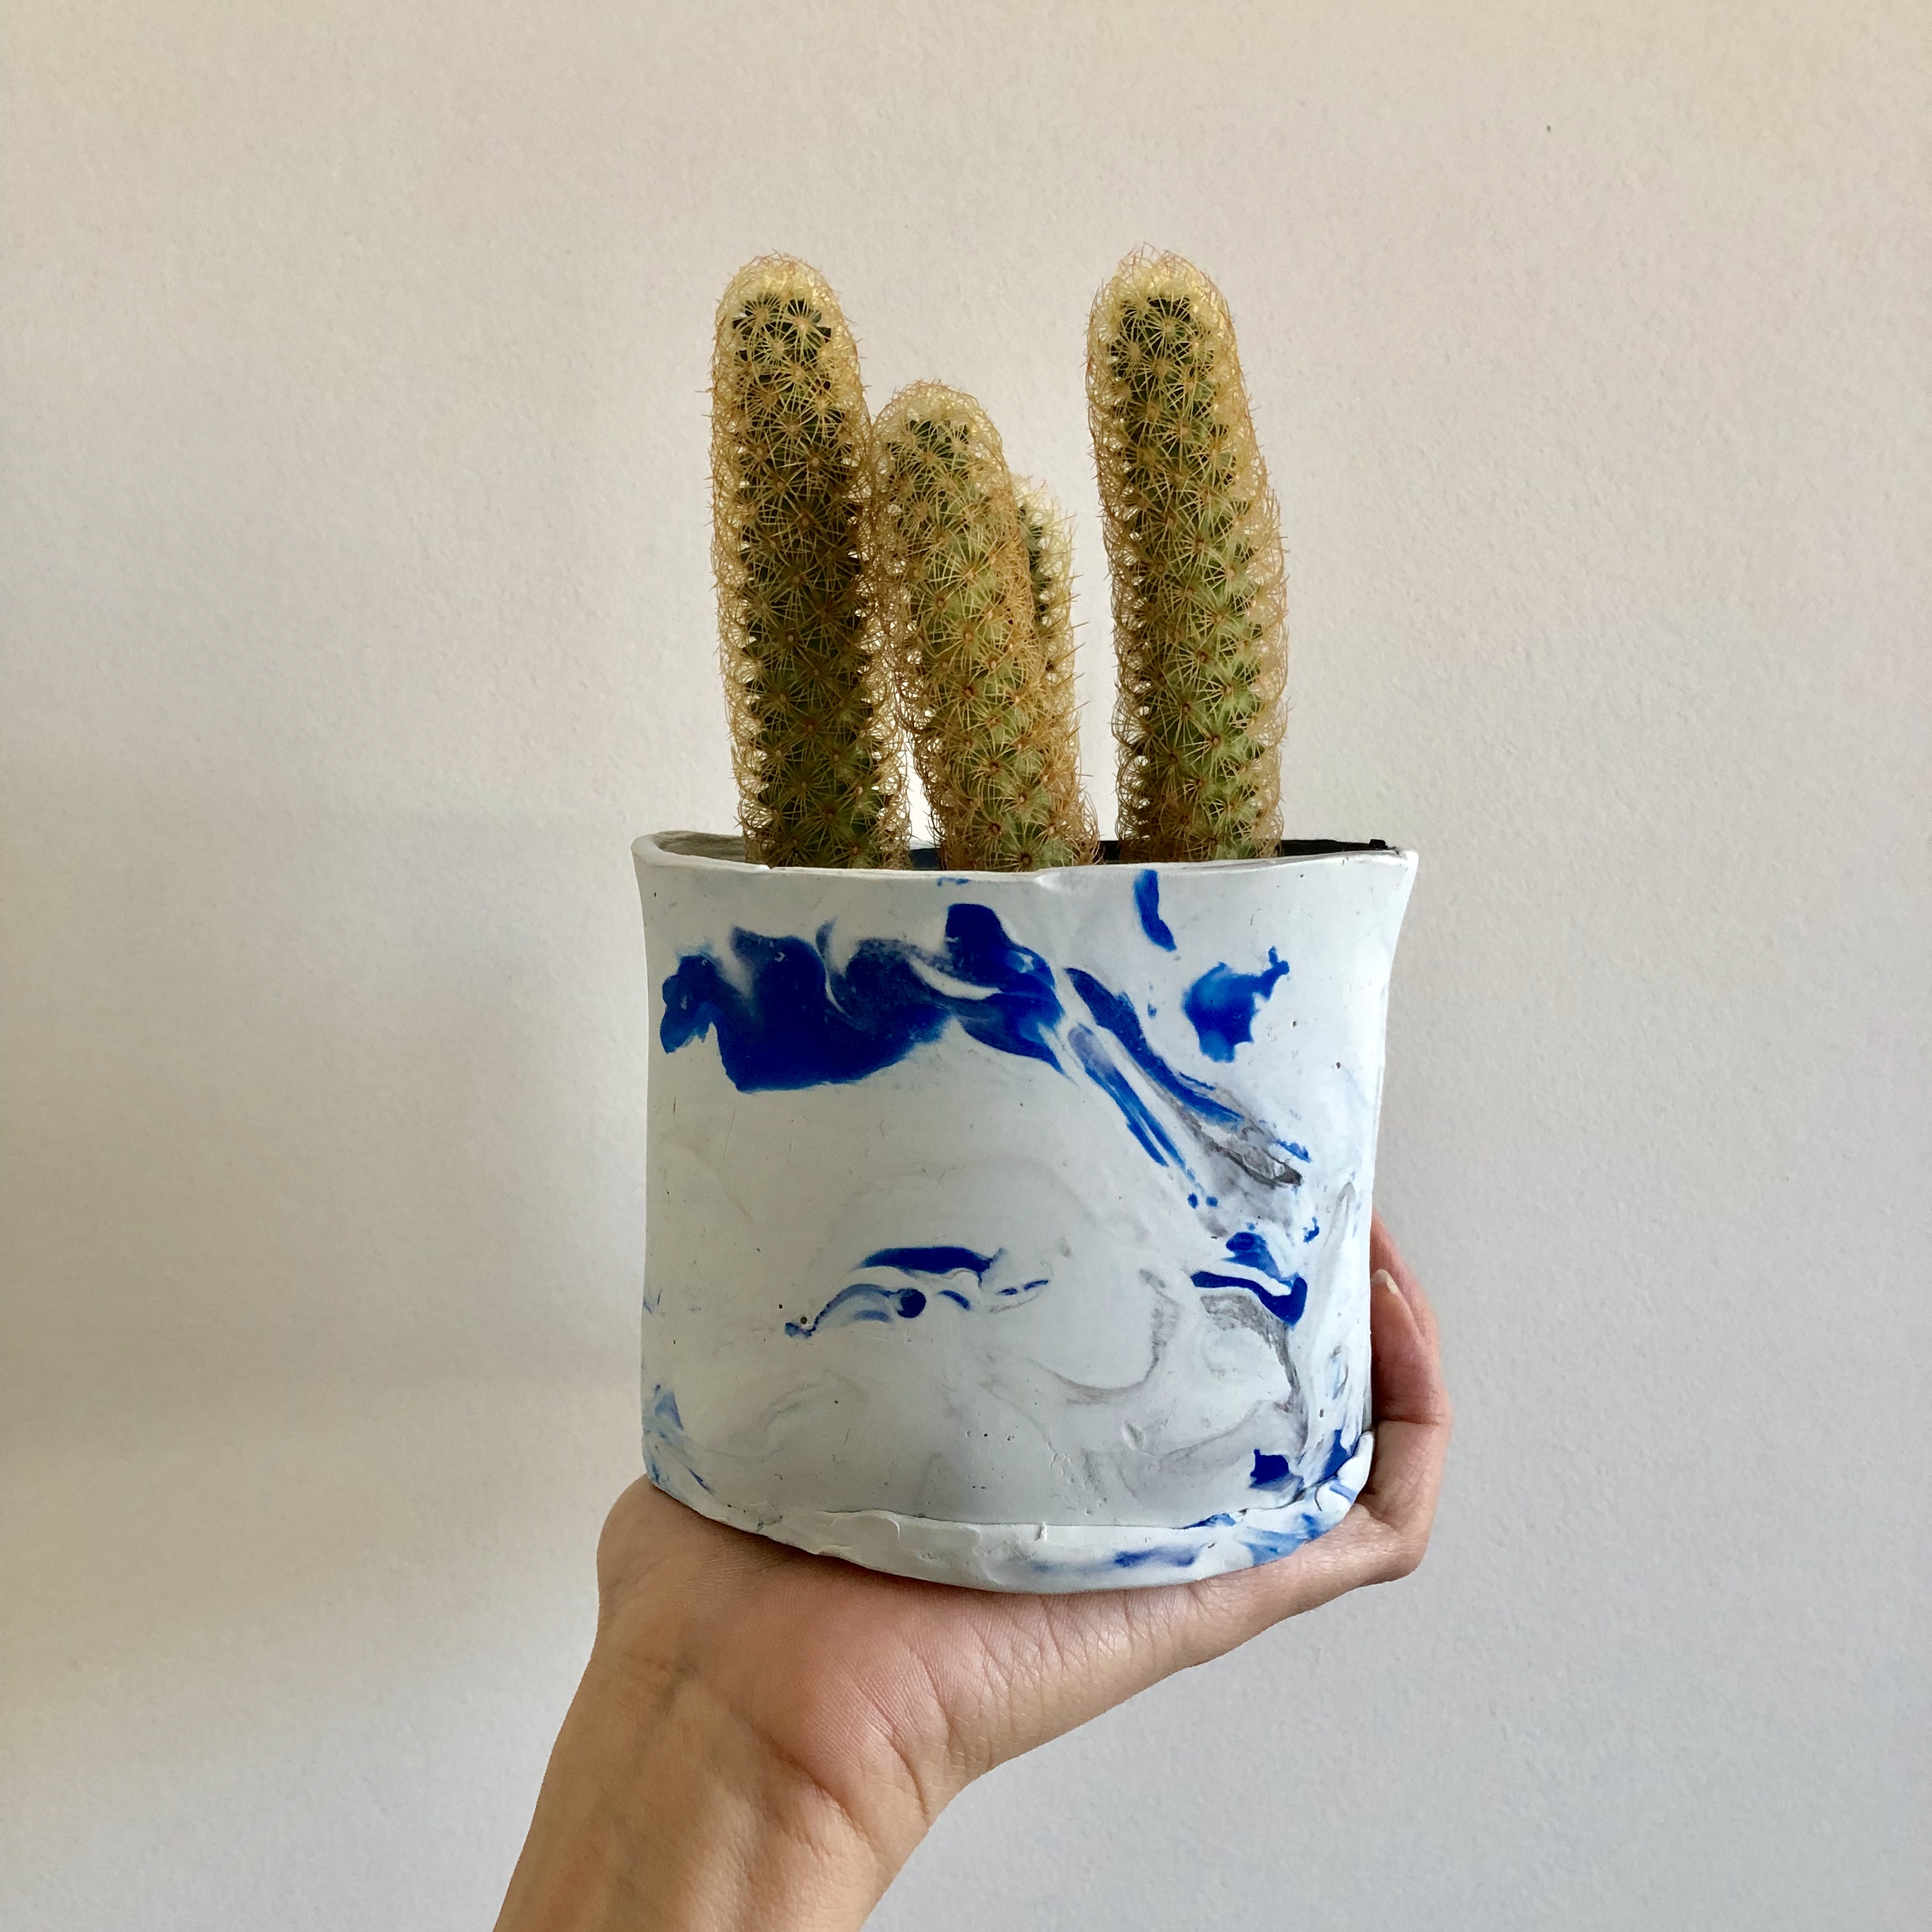
the past few months i’ve been creating my own pots. my bestie got me ceramics sessions for my birthday gift and it’s been so much fun to a) spend time with her & b) see my visions come to life. in addition to hand building and glazing, i’ve also been hand building pots at home using oven bake clay. i’ve written up steps as a guide for you to create your own pots at home. hope you enjoy this diy!
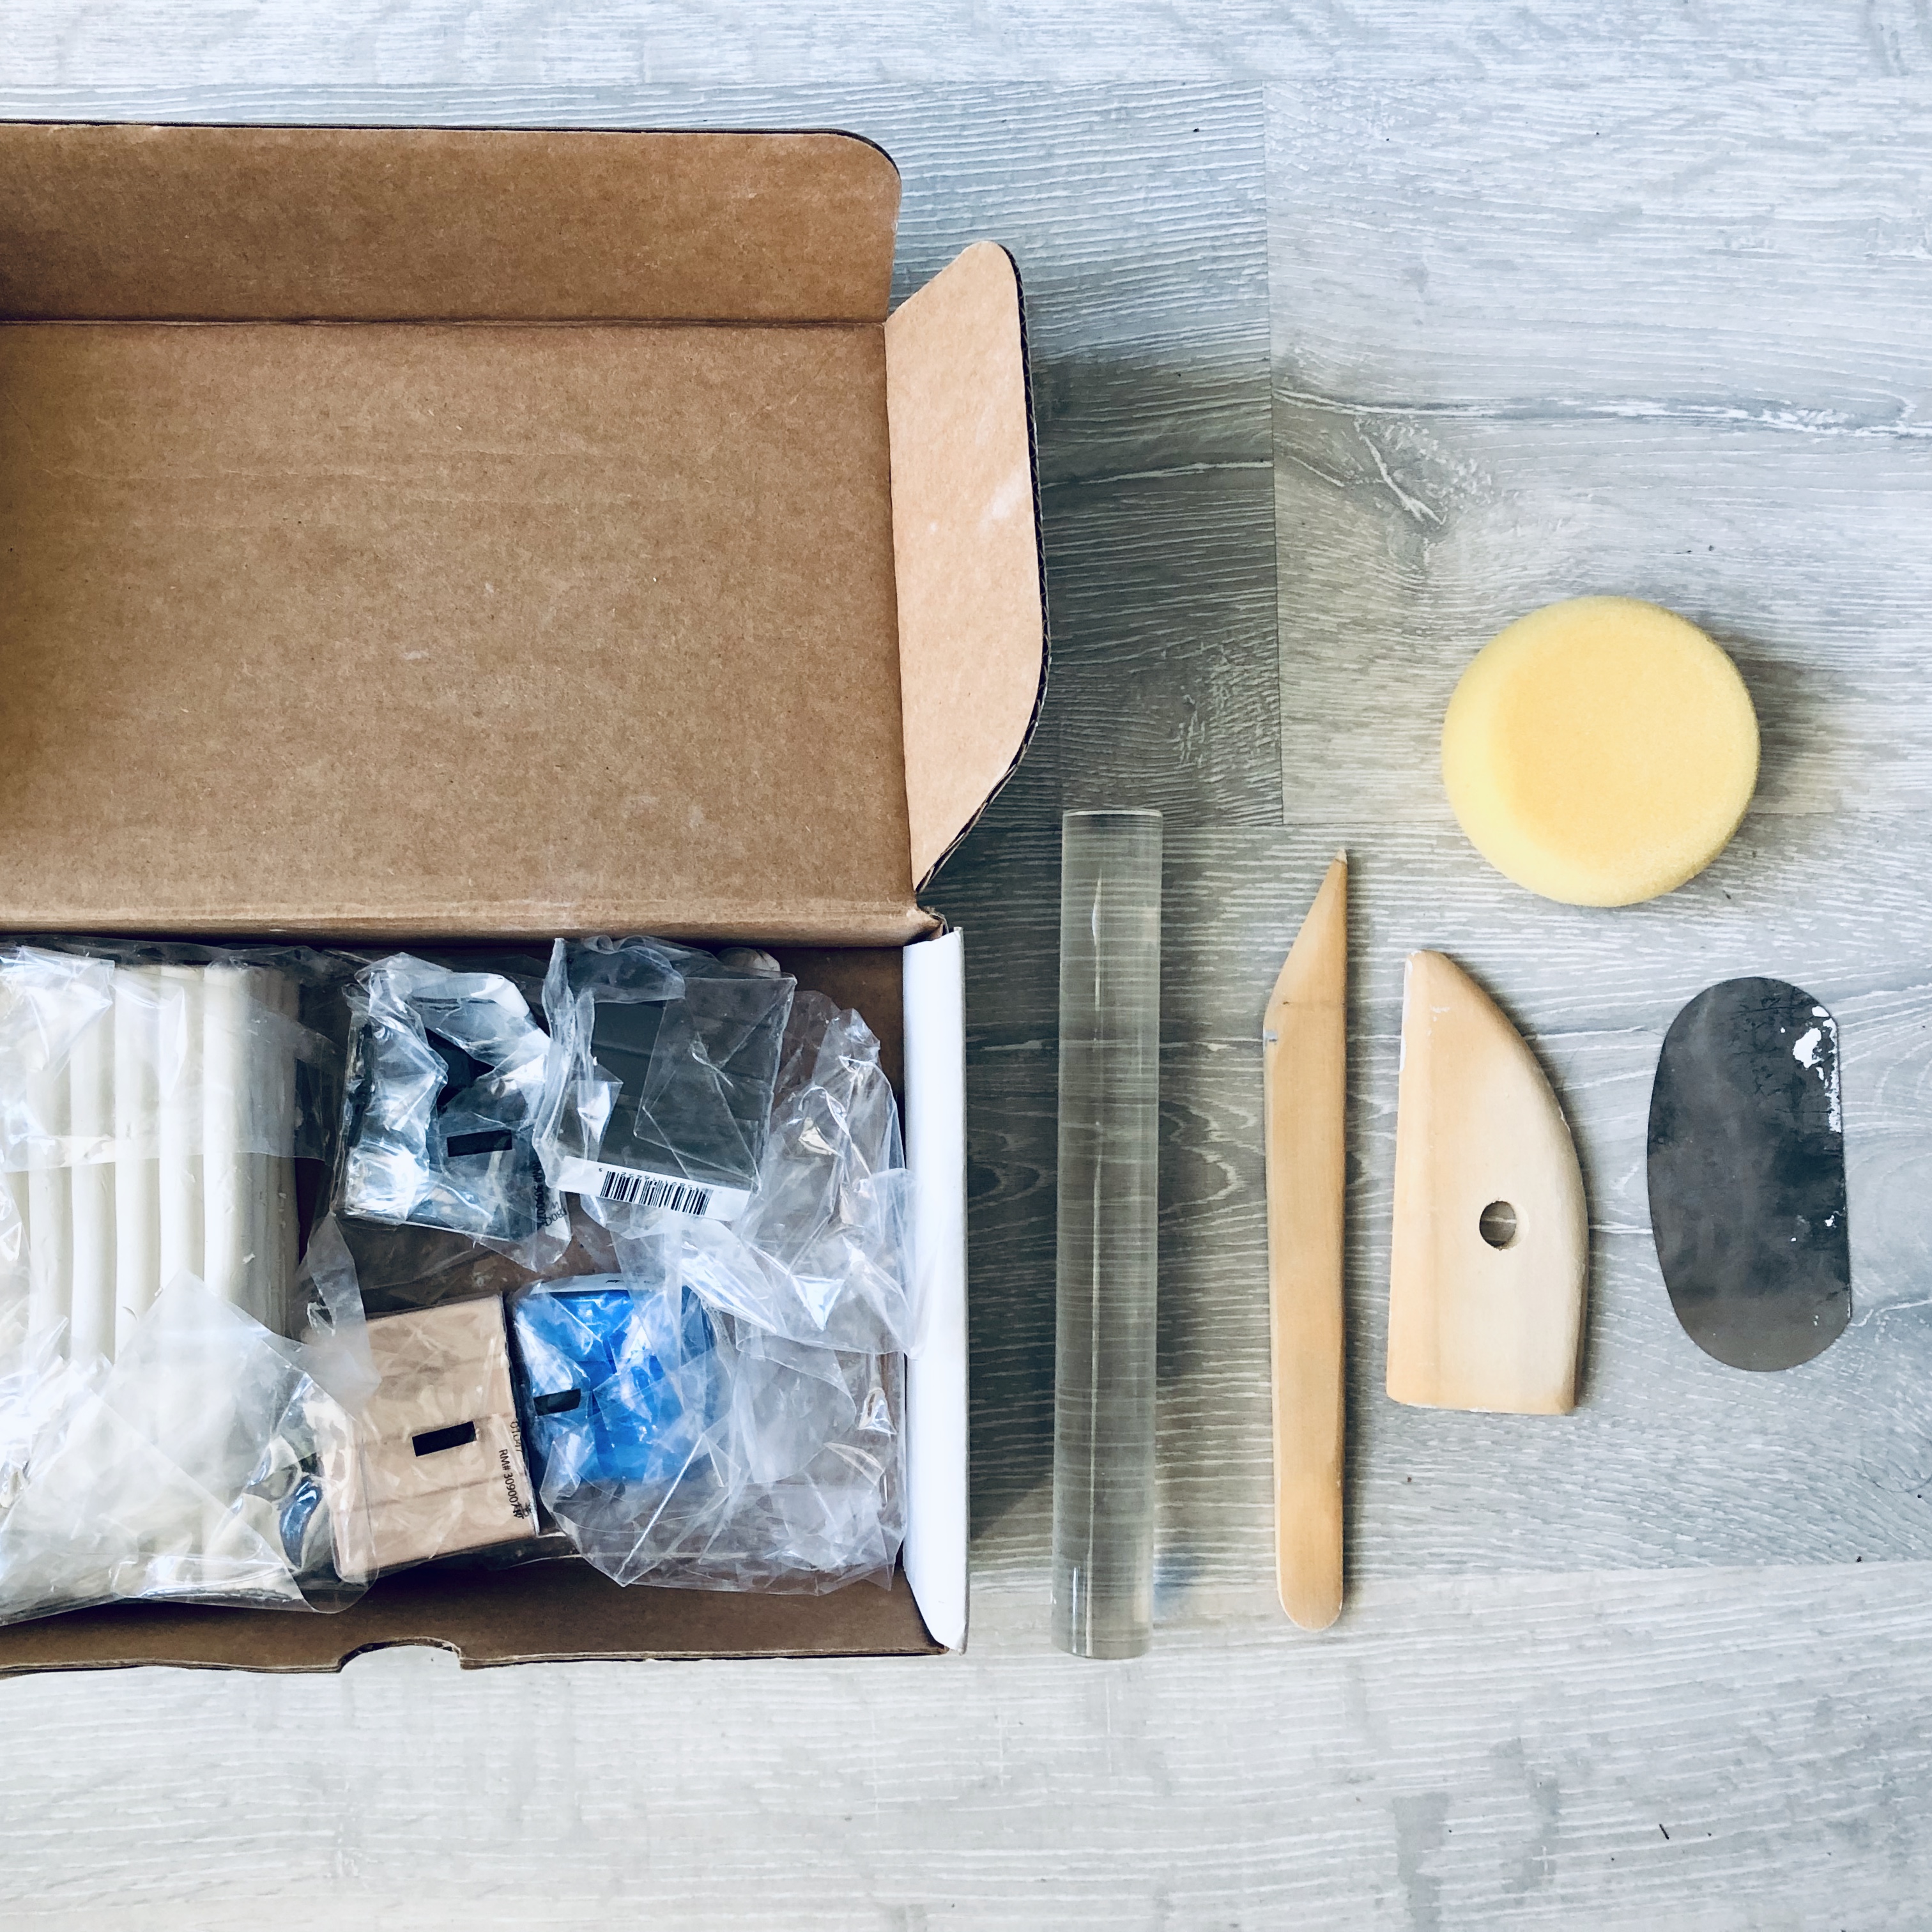
things you need
- oven bake clay – i bought sculpey’s 3.75 lb pack in white, which is enough to make 8 to 10 plus pots depending on the size of each pot
- different colours of oven bake clay for the marbling effect – i used black, grey, & blue
- rolling pin
- knife
- parchment paper
- oven
instructions
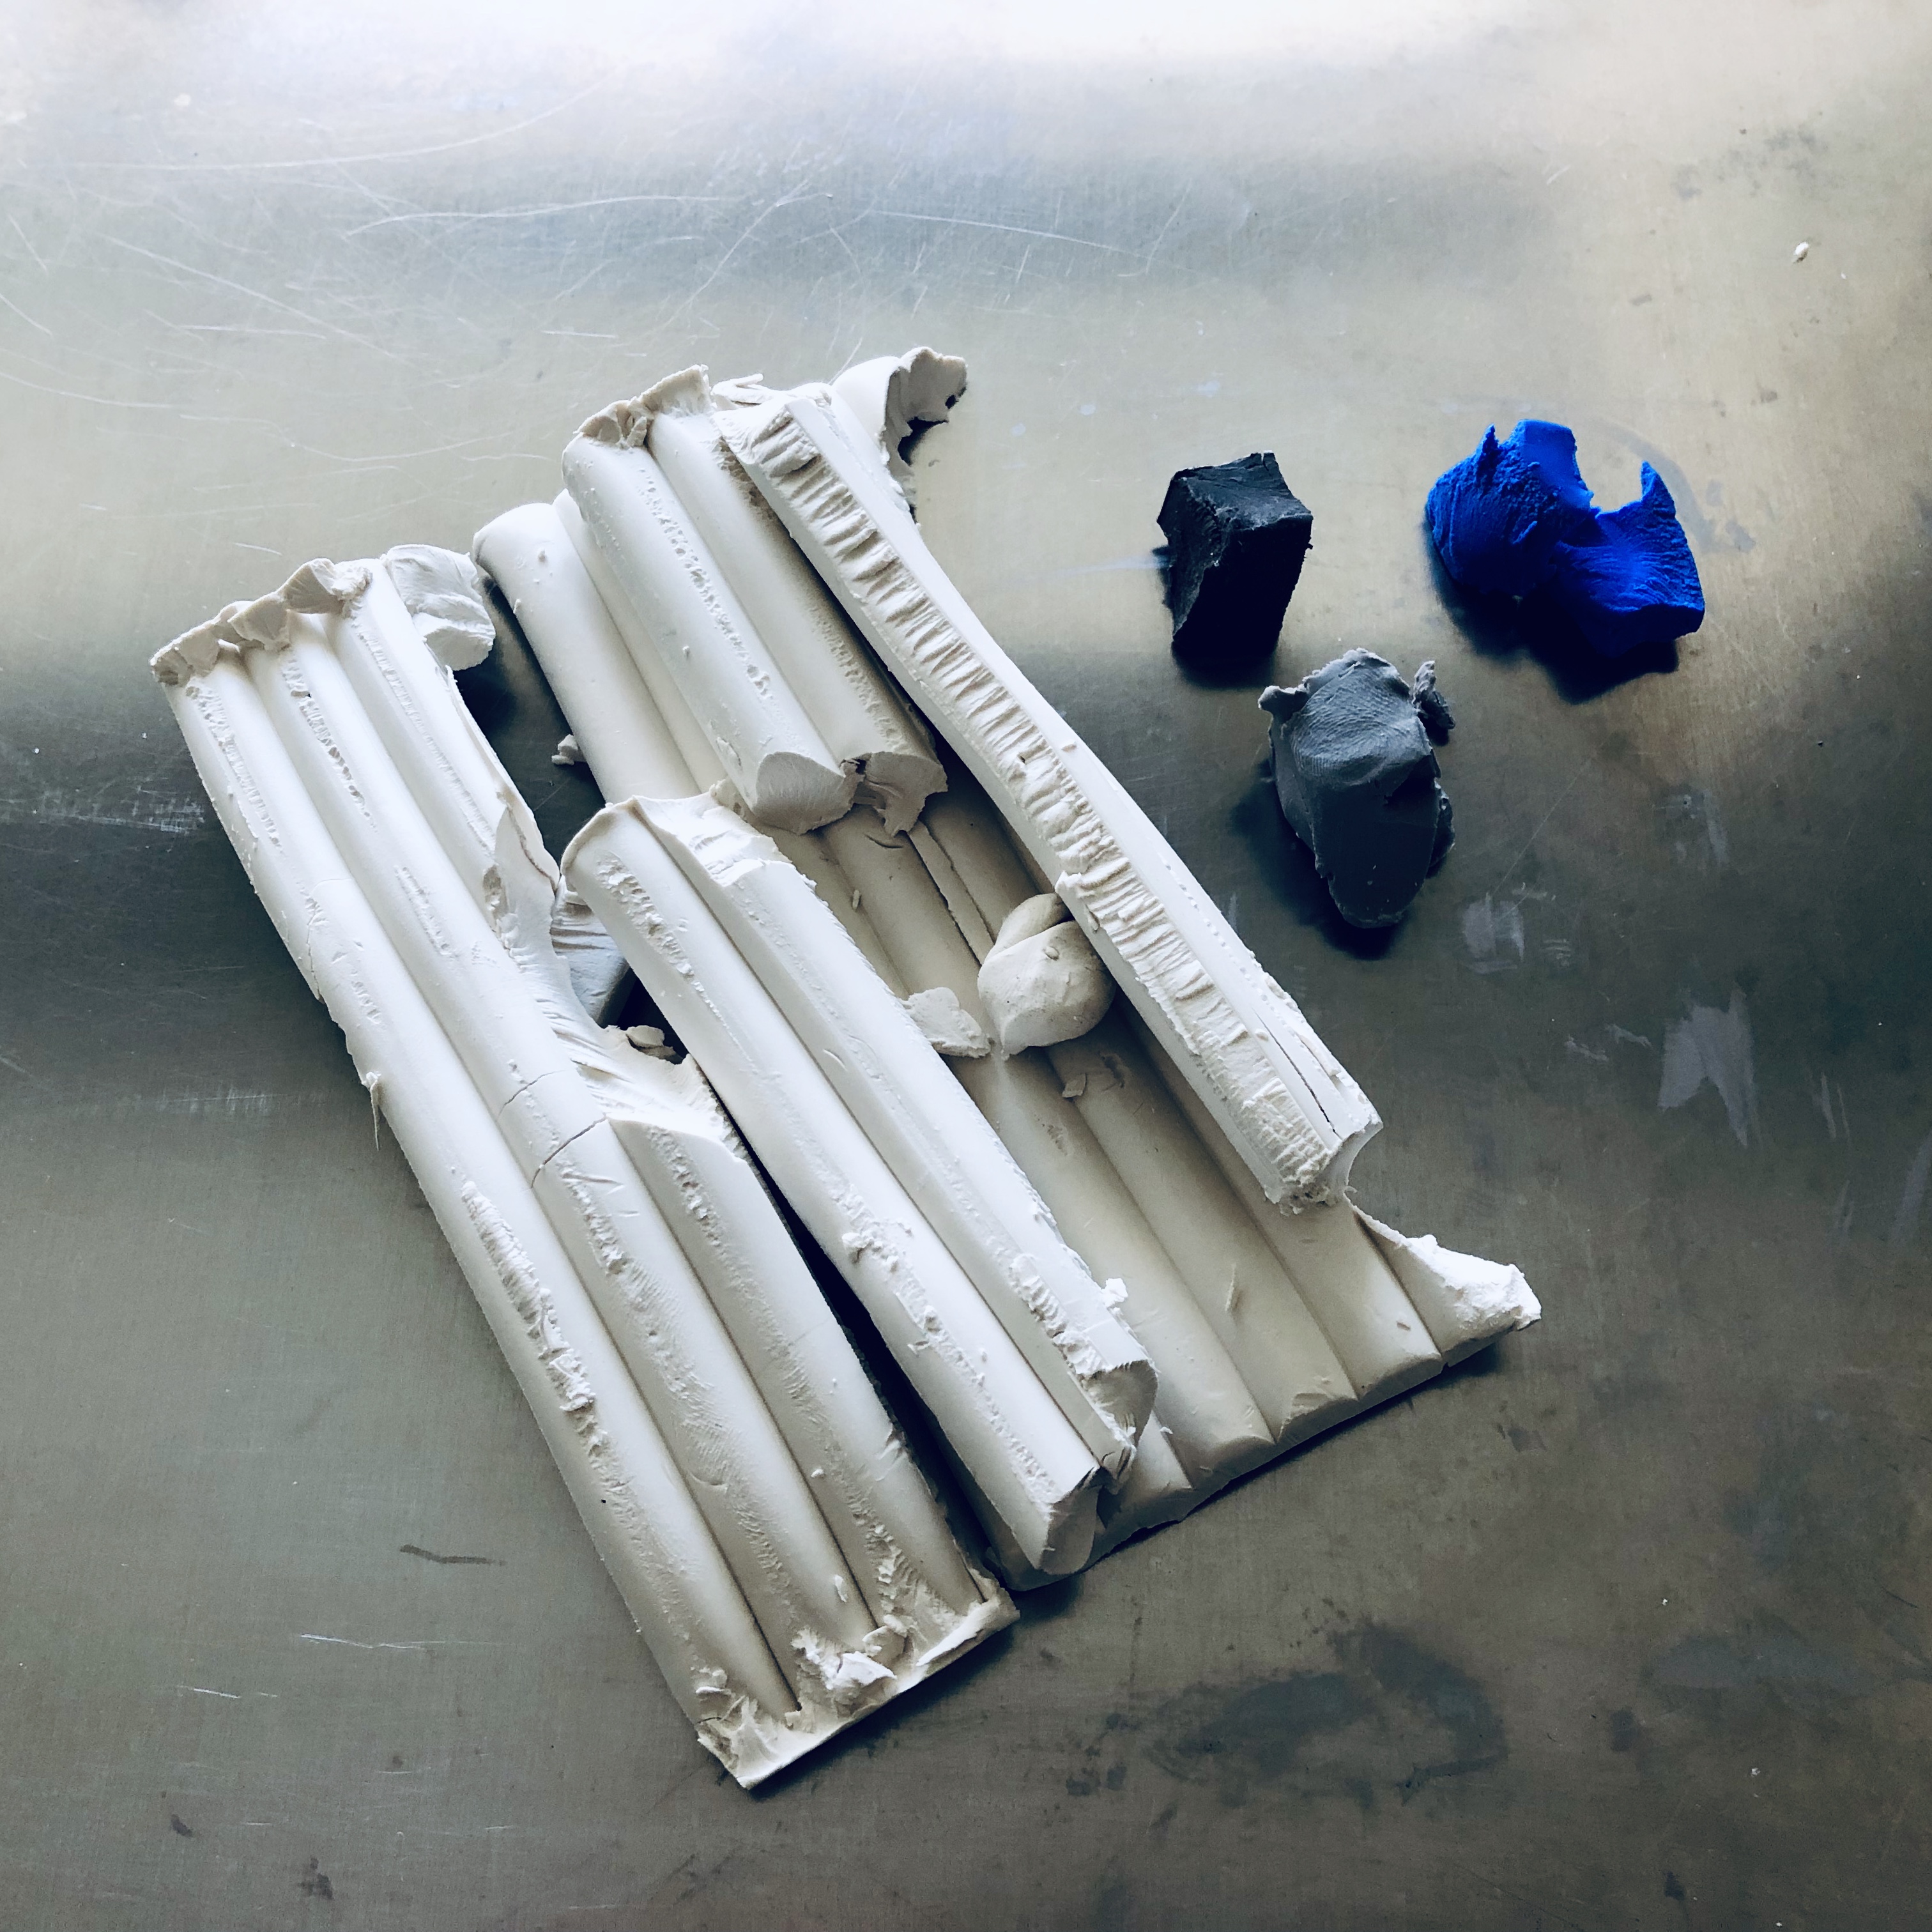
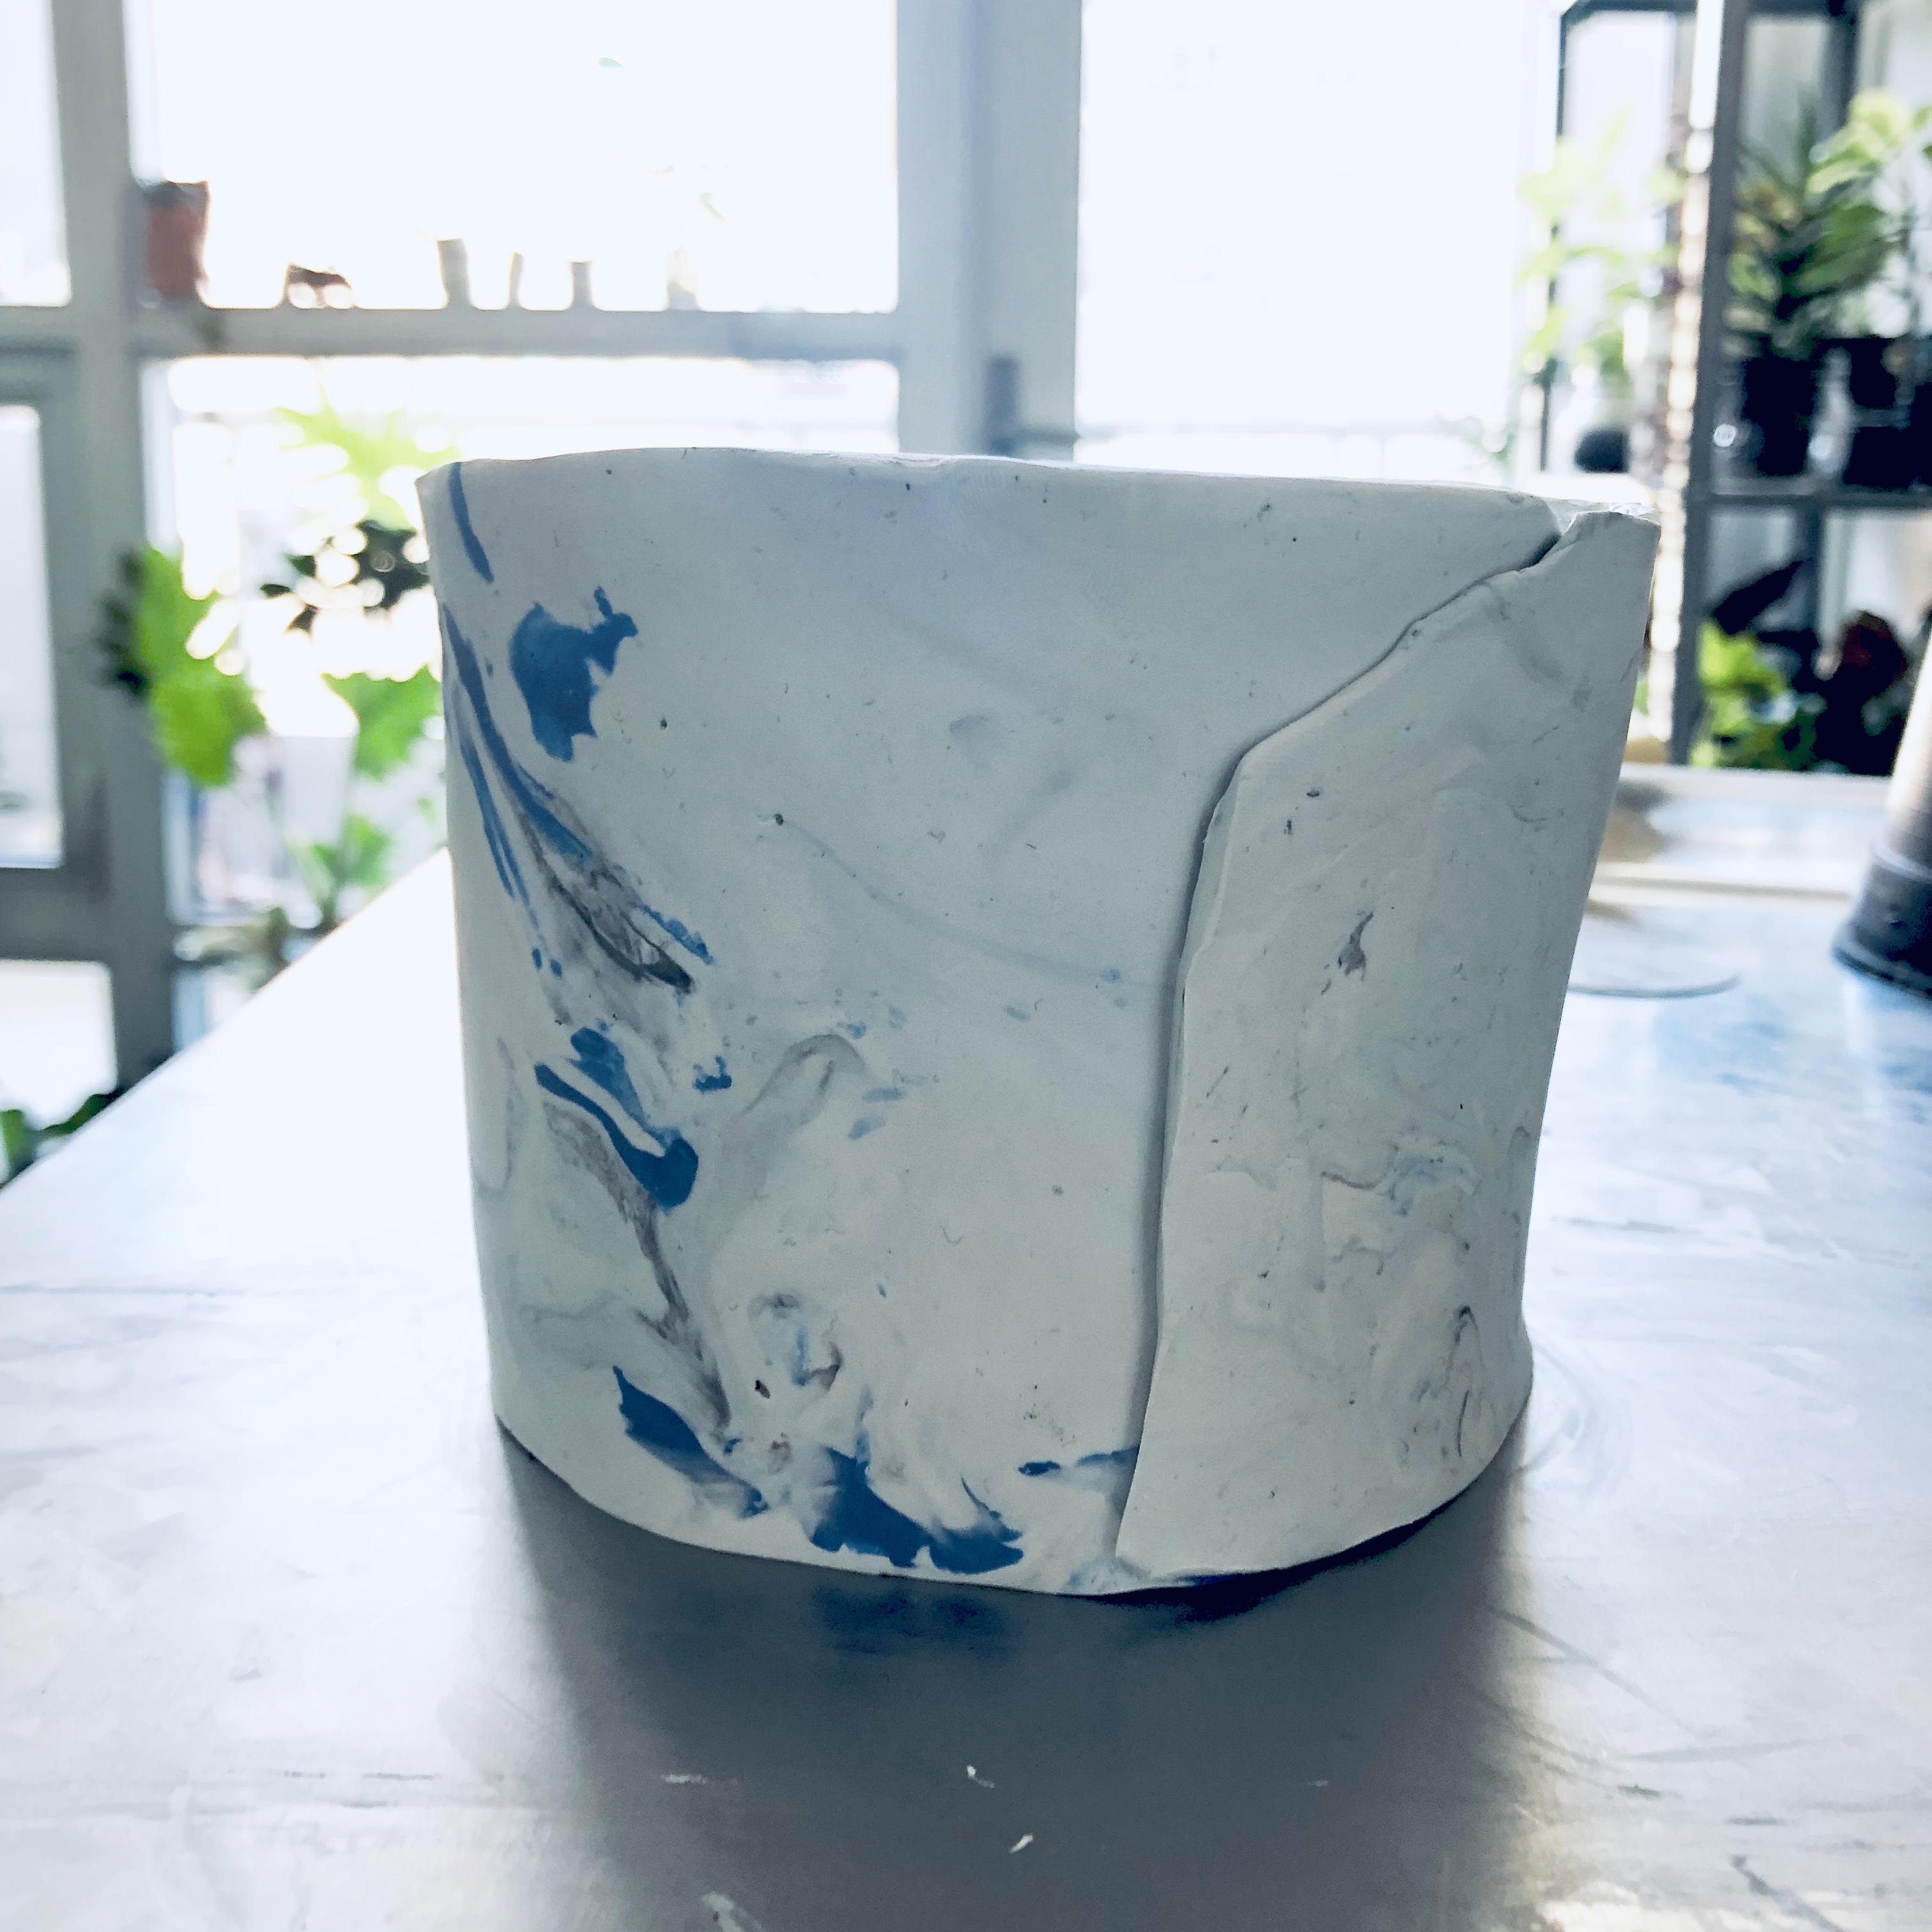
- begin by kneading the white clay to soften it a bit – i used about half a cup’s worth or more to make the pot pictured at the top of this post
- do the same with a smaller amount of clay that you will use for the marbling effect – i used about teaspoon or less of three different colours (black, grey, blue)
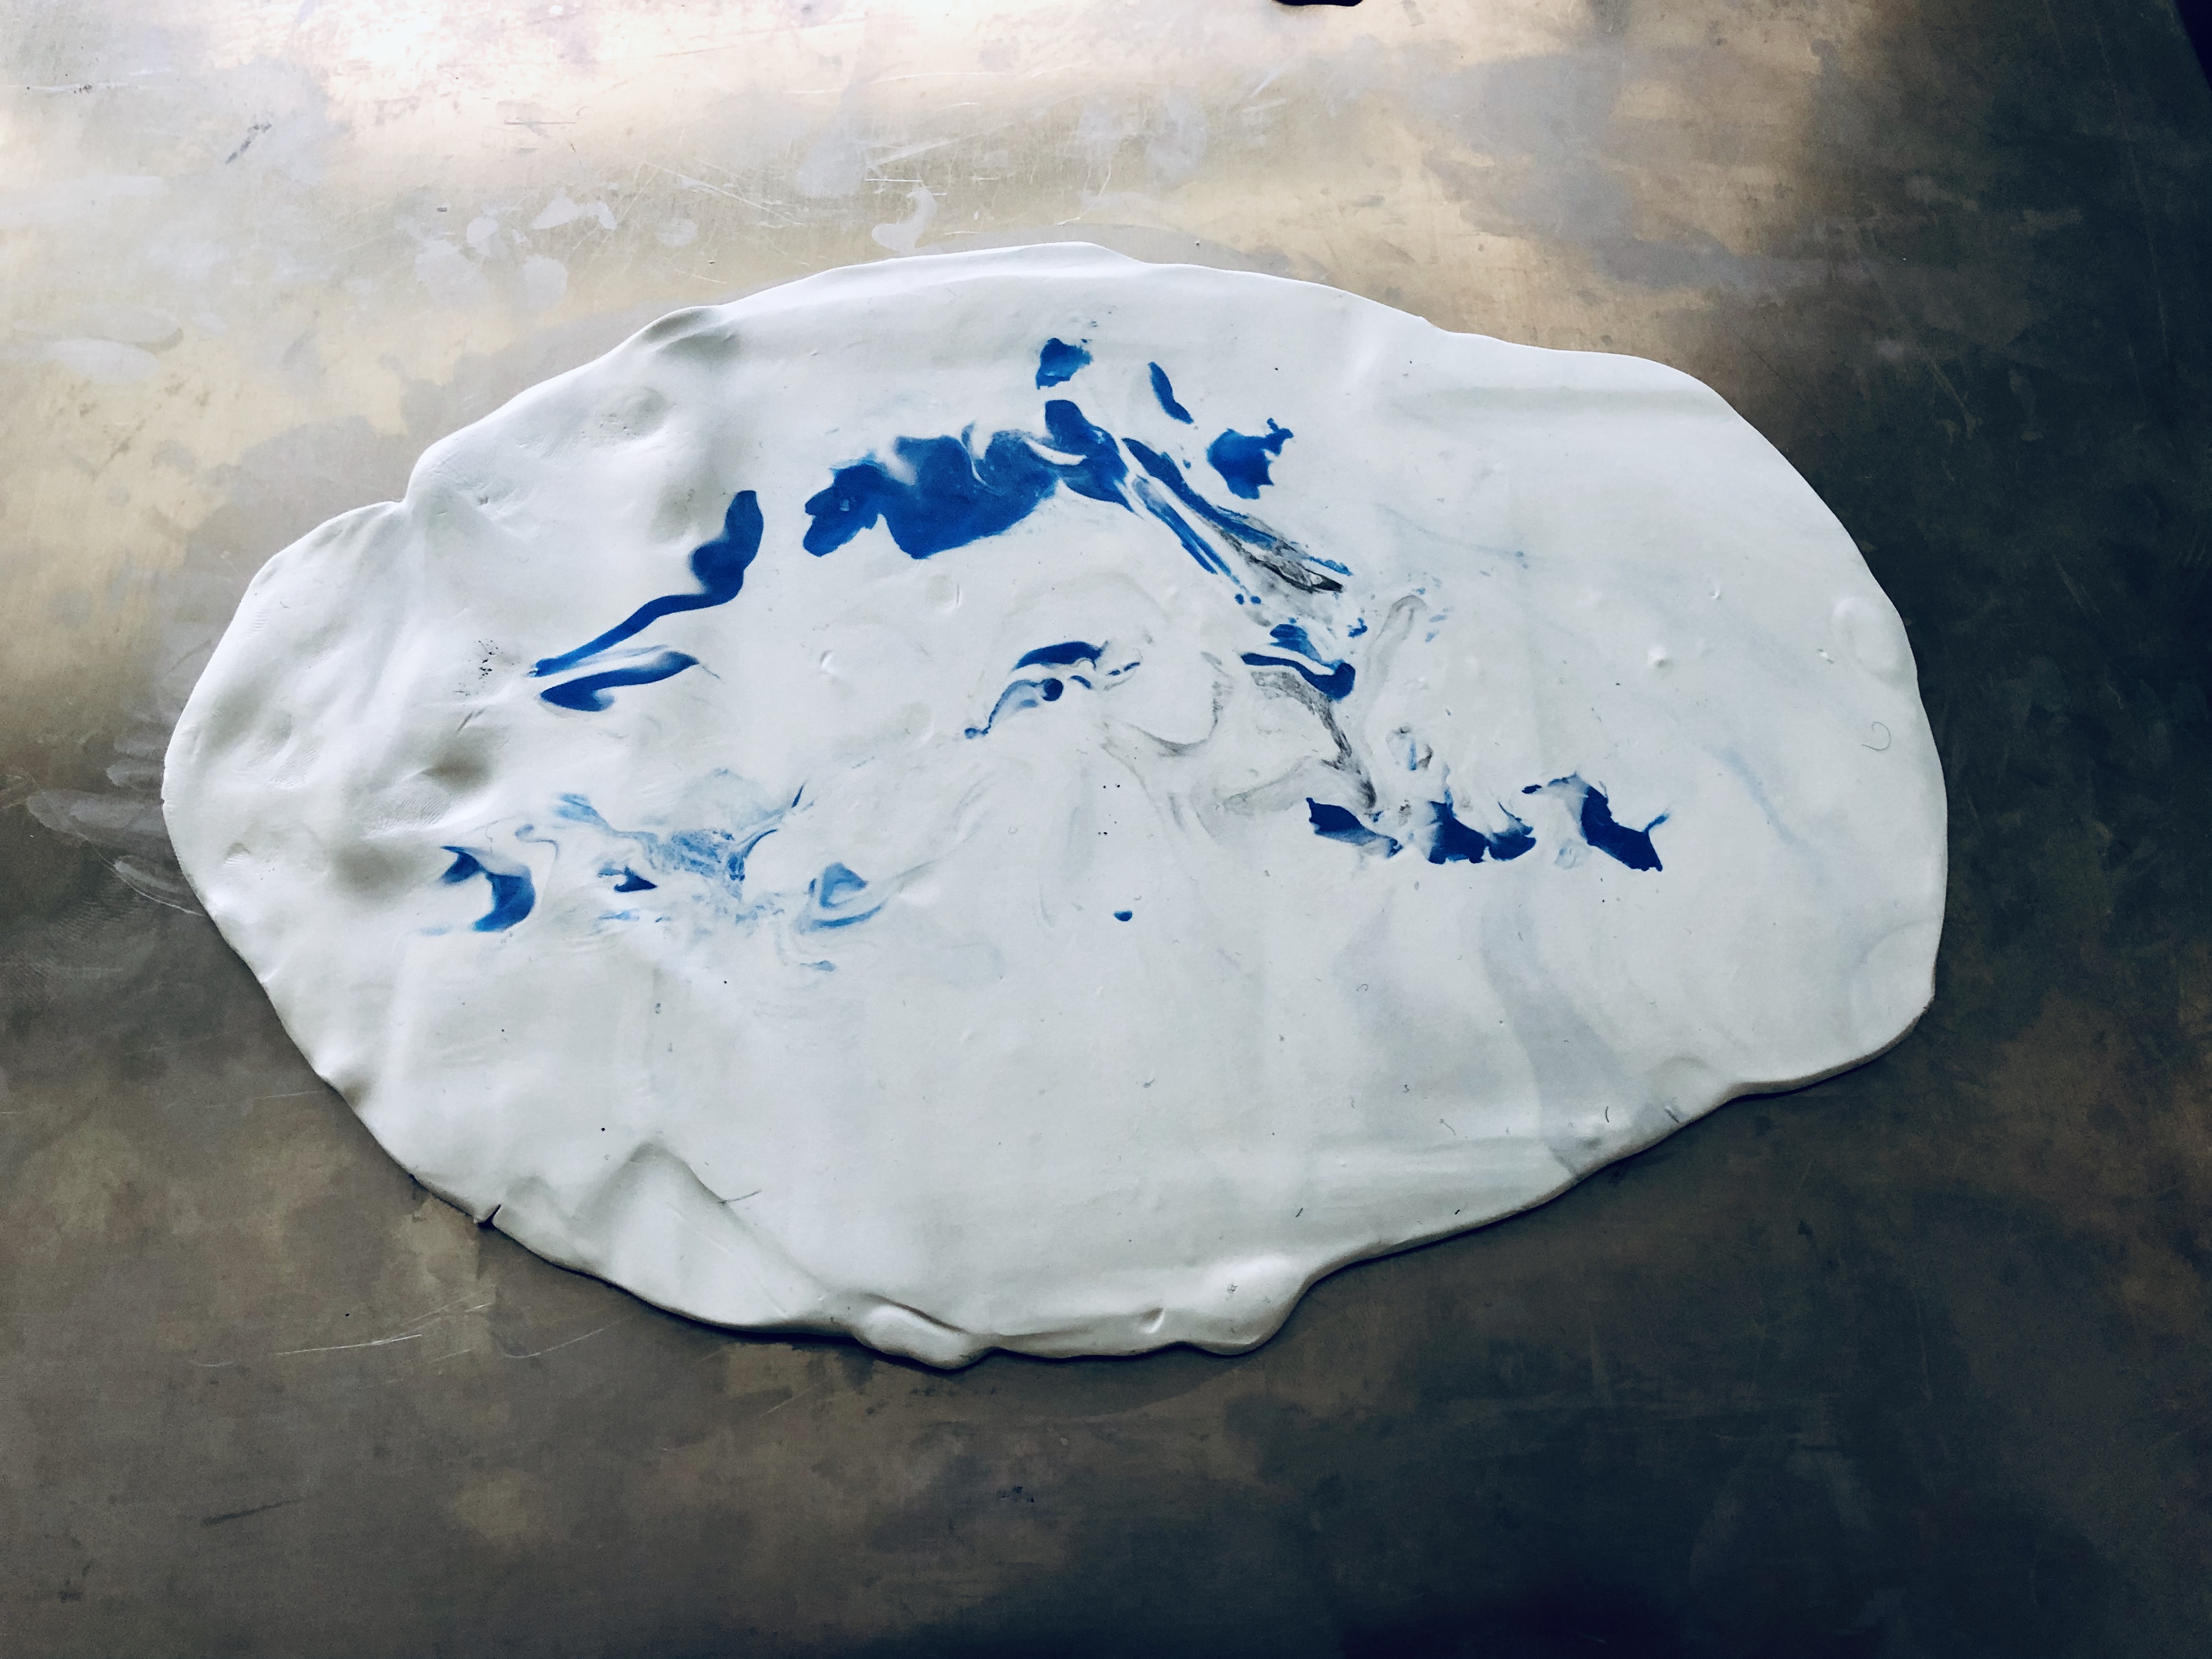
- once the clay is ready, you can push the different colours of clay into the white clay & knead them together. if you don’t want the colours to blend too much be careful not to over knead it. my pot is a bit off white as you can see below.
- you can also hand build the marbling by placing pieces of different colours of clay on the base and blending them into the base by hand. i did this with the blue spots.
- you can also do a combination of the two steps above, as i did
- next, take the rolling pin and roll out your piece of clay into a rectangular shape.
- i used the wooden knife to cut off the excess and shape it into the size of pot i wanted.
- if there are air bubbles, just poke them to release the air and roll out the clay to smooth it out.
- take the two ends of your slab & line them up. gently push the two pieces together in the same direction until they’re stuck together. try not to leave any gaps.
- i used a nursery pot to help me figure out the size of the clay pot. i like to leave my plants in nursery pots and then place them in cache pots, such as this clay pot. however, i’ve also planted succulents directly in clay pots i’ve made.
- roll out the leftover pieces from earlier to make the base of your pot. place the pot on top of the bottom piece & then use the knife to cut around it & remove the edges.
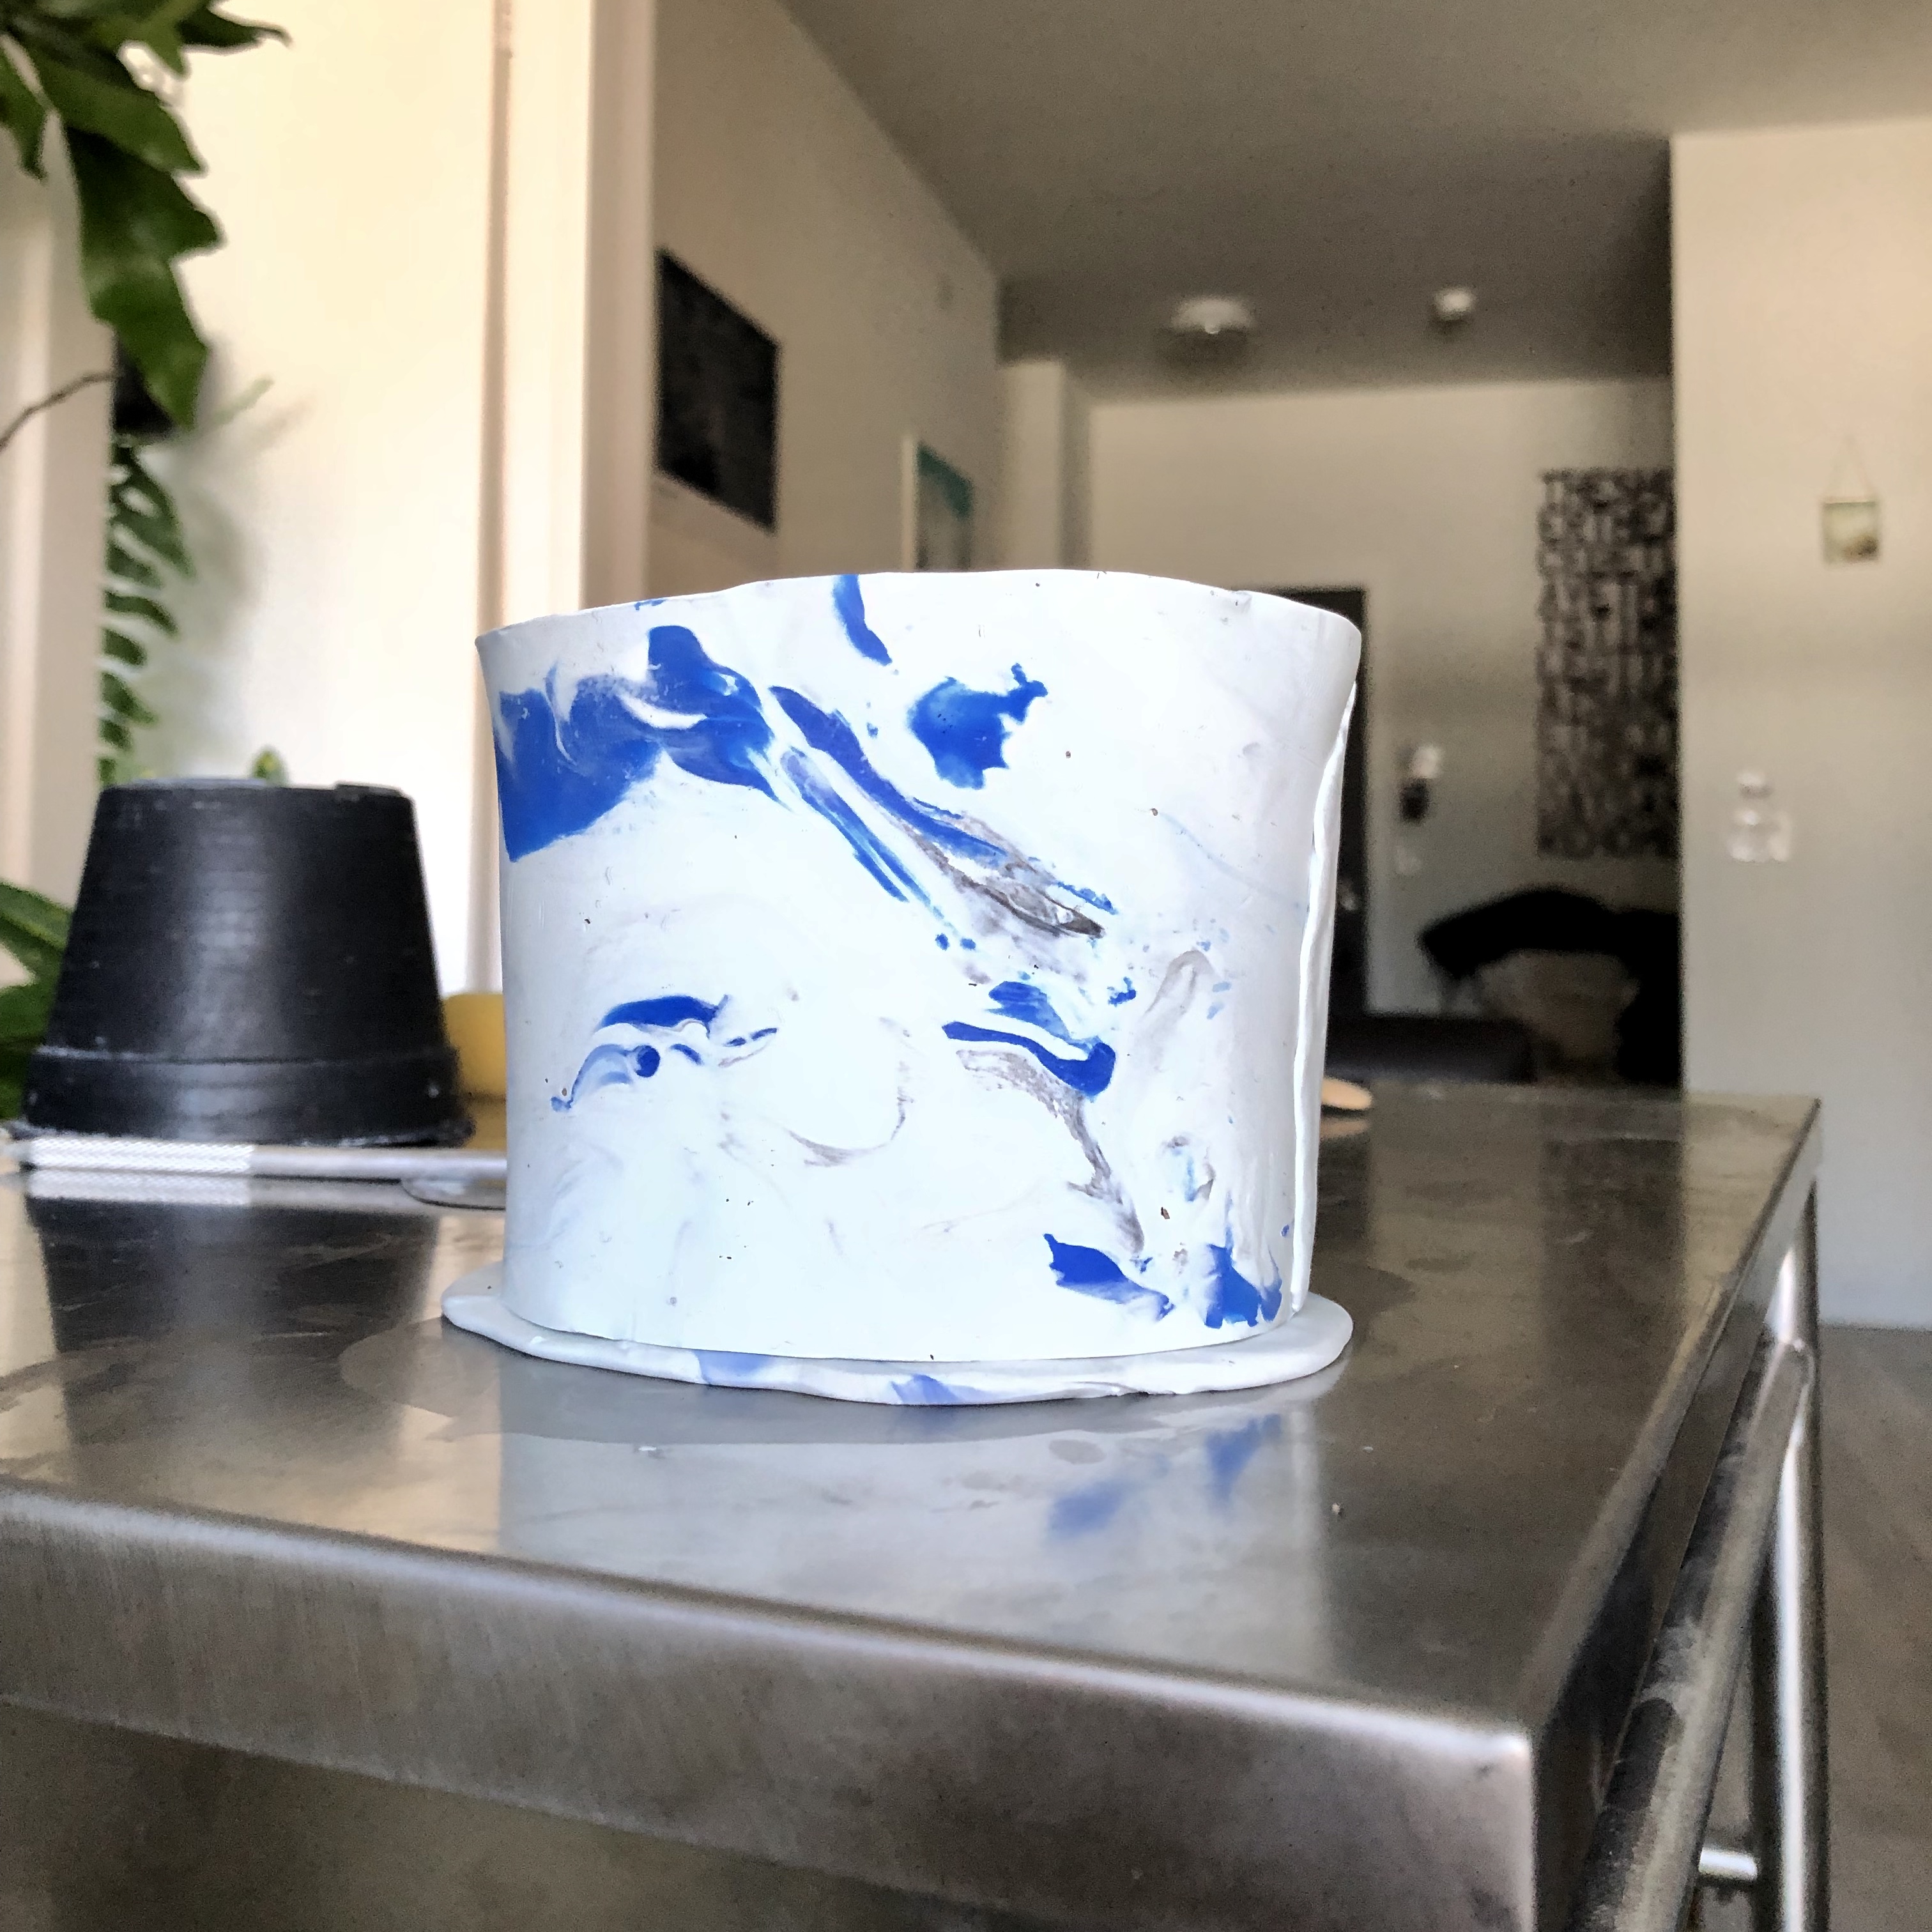
- secure the base to the pot by gently pushing the two pieces together in the same direction
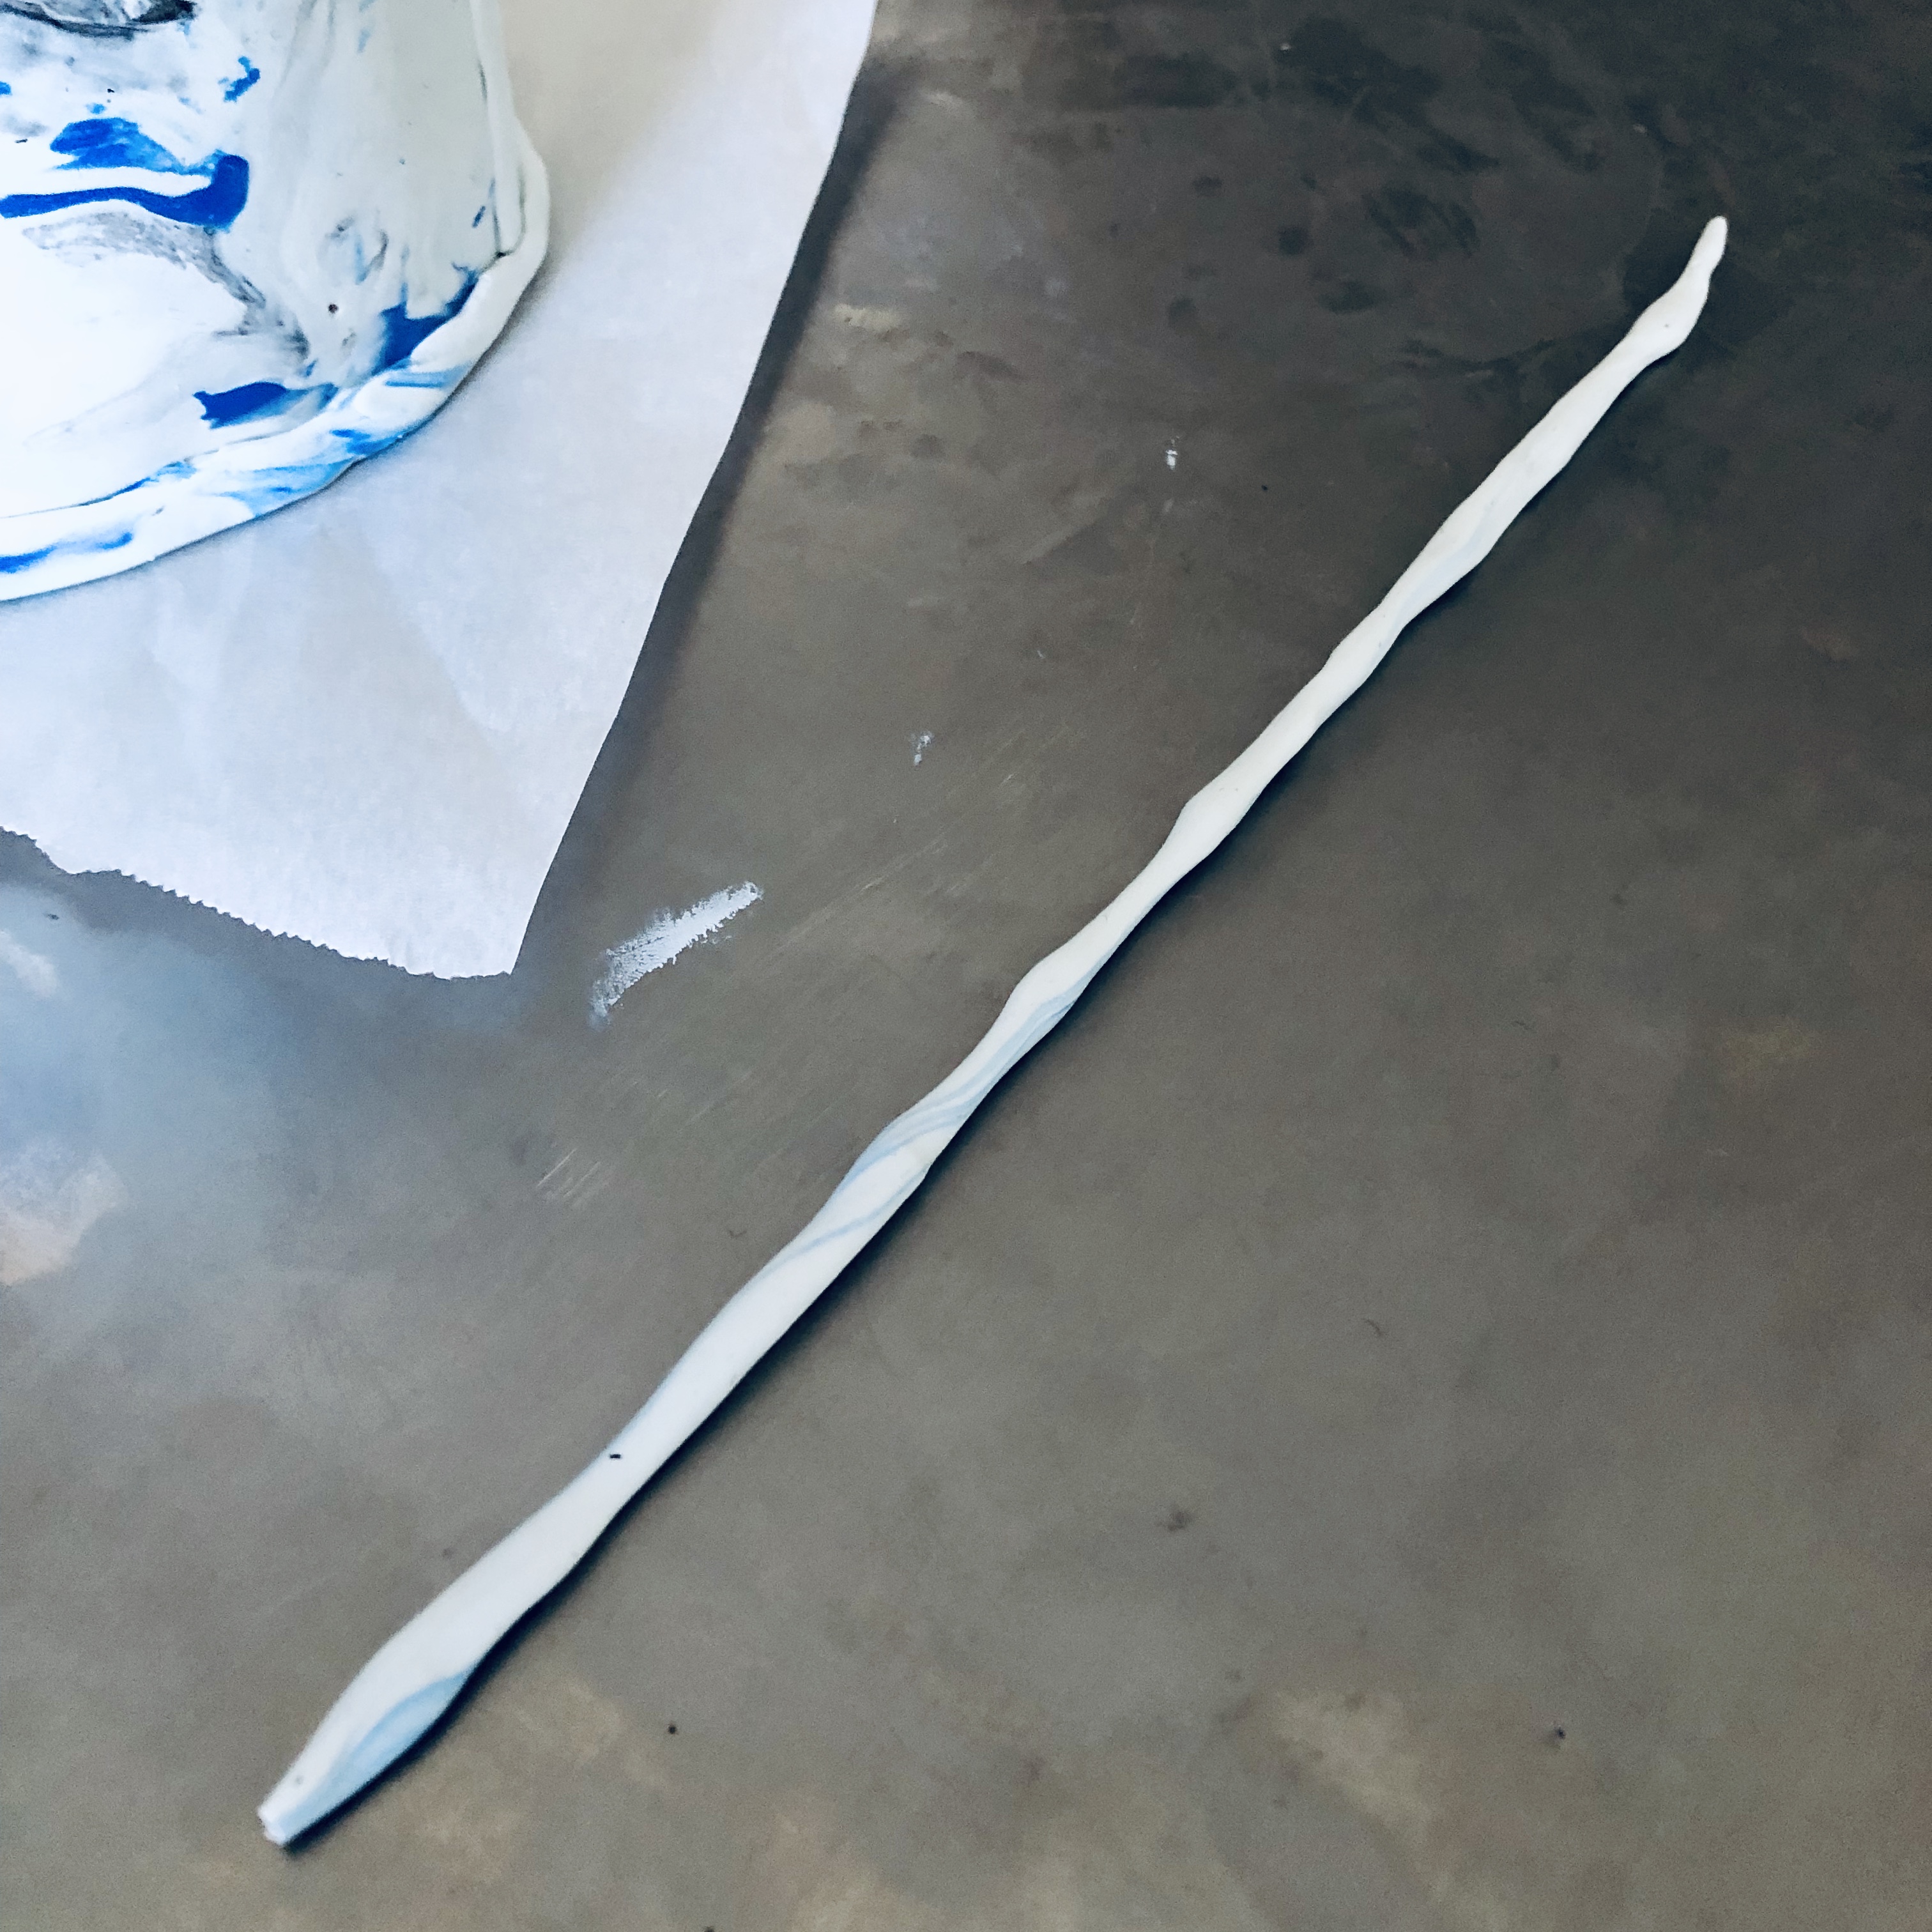
- i added a ribbon of clay around the edges of the inside of the vase to ensure there are no spots where leakage can occur
- place your pot on a piece of parchment paper & bake it at 275 degrees f or 125 degrees c. according to the directions on the sculpey packaging, you’re supposed to bake your item for 15 minutes per 1/4 inch of thickness. my vase was about this thick, maybe even a bit thicker so i baked it for about half an hour. if you aren’t sure how long, check it often to make sure it isn’t burning.


This DIY is so cool! It turned out great.
LikeLike