
generally, it’s suggested that you repot your plants annually. the beginning of spring is a good time to repot your plants before their growth spurt, providing them with a more spacious home environment to grow. by repotting them you will also be giving them much needed nutrients to thrive. in their natural habitats plants have room to grow their roots & in pots, after a year or two, the light + fluffy potting mix your plant came in breaks down & compacts, putting your green baby at risk of holding too much water & too little air. in most cases, the roots will fill the pot & need support freeing up space to grow. if things get too congested down there the soil is completely displaced & the plant cannot adequately support its needs for moisture + nutrients.
to begin this process, gently remove the plant from it’s pot and check the state of the root system. if you want to keep your plant in the same pot, you can prune the roots and then add fresh soil. if your plant is root bound or overcrowded in it’s pot then it’s time to pot up. your plant will show you it needs new space badly when the roots have wrapped around & around the inside of the pot. read on for instructions on how to repot or pot up your plants.
warning: if your plant is stressed, wait to repot it! if it’s wilted from thirst, let it have a drink before you subject it to repotting.
repotting/potting up
💦water your plant thoroughly a couple days before repotting to make it easier to get it out of its pot & to make sure it is hydrated, reducing the risk of shock
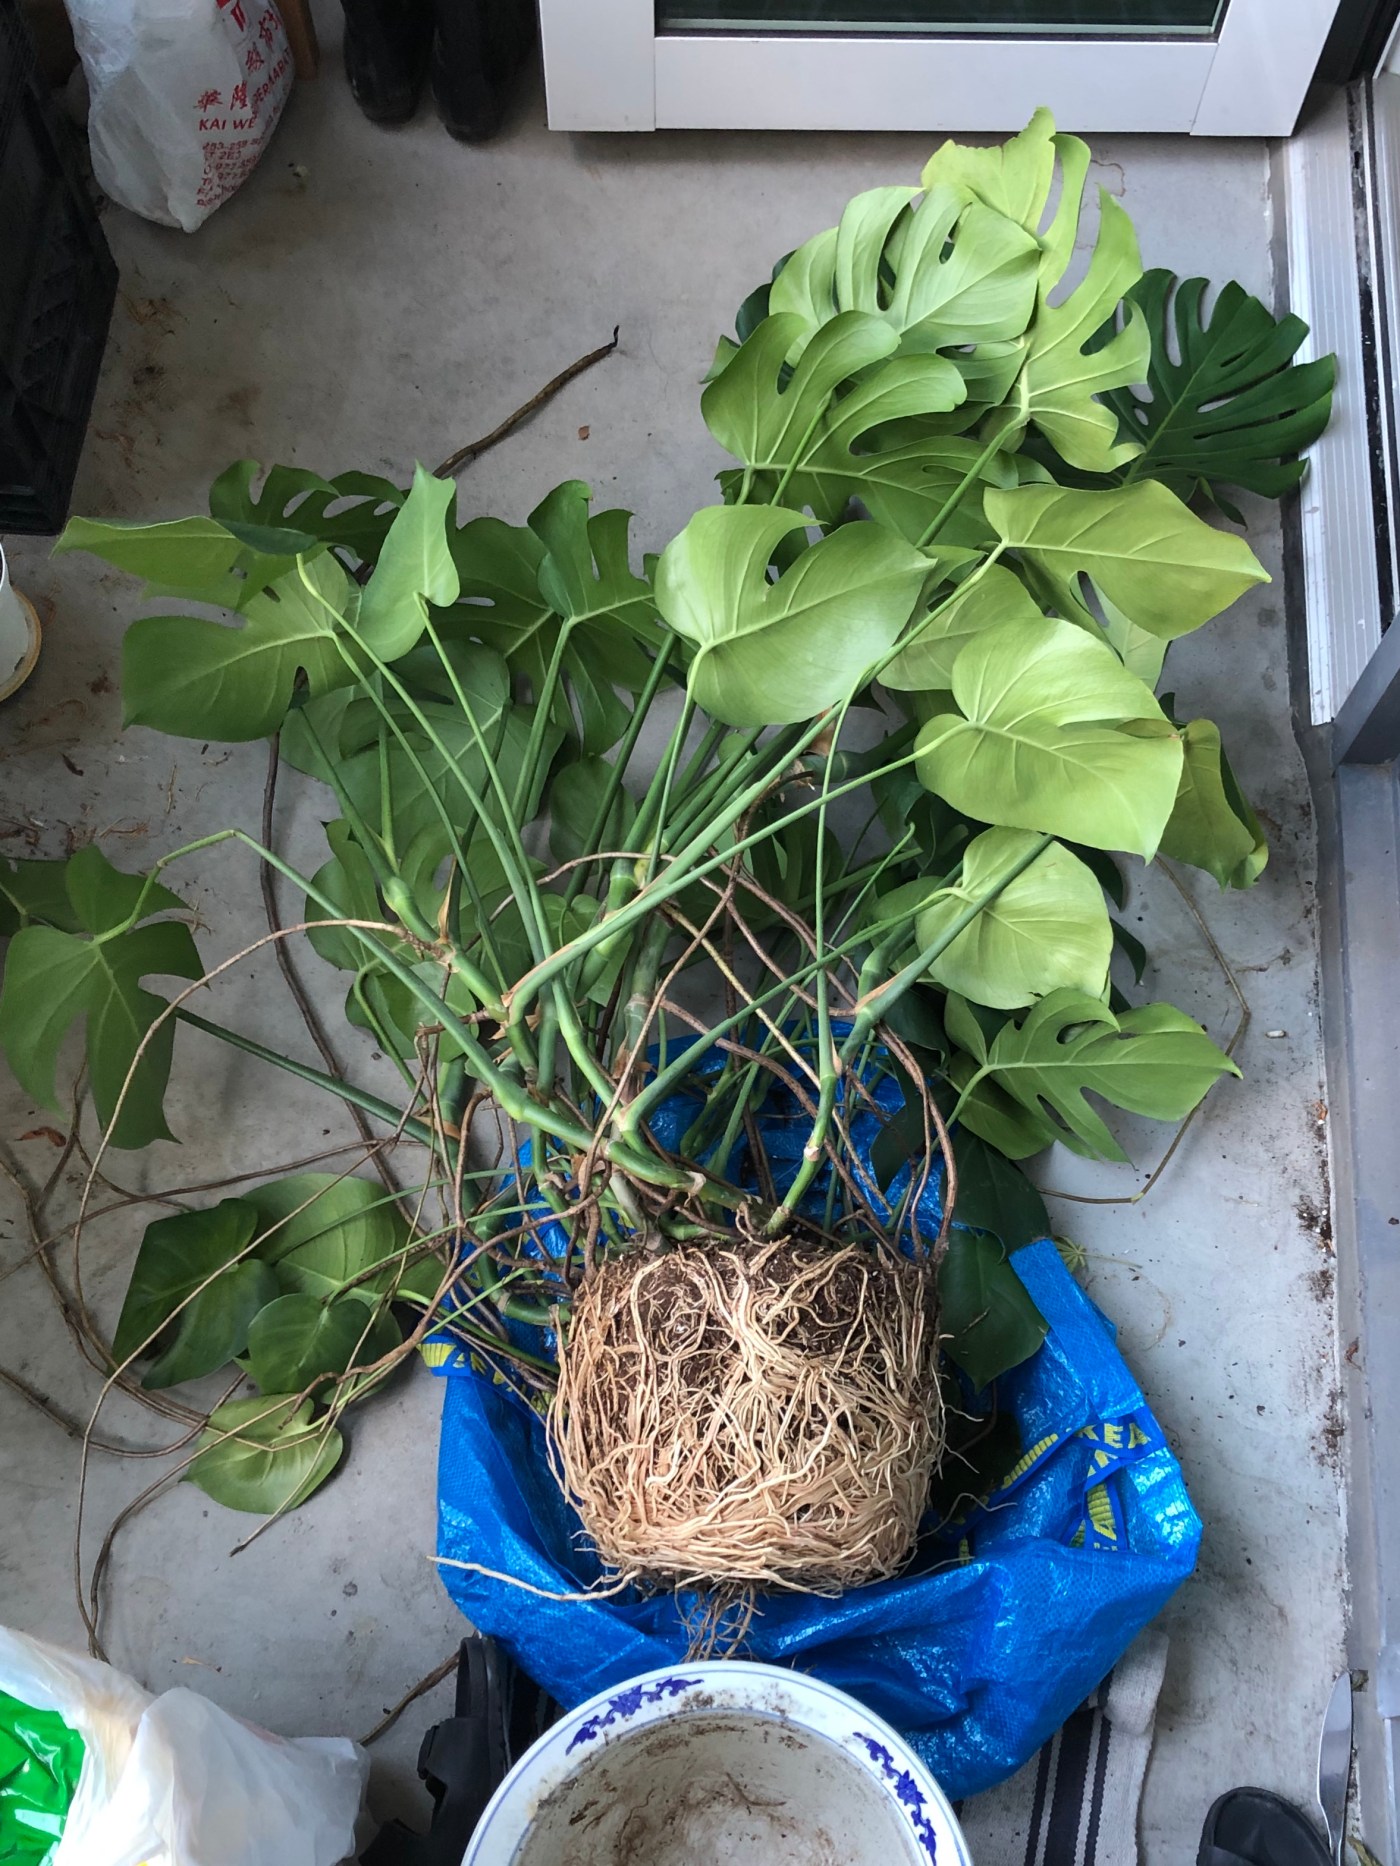
🔪gently remove the plant from its pot – for plants that are root bound, try using a butterknife around the perimetre of the pot to loosen the roots
🌀gently loosen the root ball & shake away excess soil gently, being careful not to damage the tender roots
✂️clip off any brown, black or visibly damaged roots with sharp shears; for super root bound plants, or if you want to just repot your plant without potting it up into a bigger pot, trim up to ⅔ of the root mass, beginning with the bottom + sides of the plant
🚿if repotting only, discard remaining soil from the pot, & clean away all the sediments with hot water; if potting up, choose a clean new planter that is no more than 2” in diameter larger than your plant’s old home – too much space slows growth & can lead to root rot
🌱add a layer of fresh potting soil to the bottom of the clean pot so that the base of the plant will be about half an inch below the rim of the pot
🌿place your plant in the new pot & fill it with soil until all roots are covered – put a bit of pressure on the soil to ensure that there are no air pockets, but be careful not to crush delicate roots
💧water lightly so that the new soil is moist, but not soaking wet
♻️i organize my plants when repotting so that i can switch pots around my green fam to reduce having to buy new planters
now we’re ready for s/s ☀️
your plant may look a bit sad at first because it’s going to be in a bit of shock as a result of the transfer. don’t worry, it’s normal. your plants may look off & you may think they want a drink, but please refrain from watering until about a week after repotting to ensure that any roots damaged during repotting have healed. during the recovery period, place your green fam in a cooler, shadier spot.
ultimately, repotting your houseplants provides them with much needed nutrients, & will allow them to take in water more effectively since they won’t be root bound. freeing up the roots will keep it quenched + lush. providing your plant room to breath will allow for it to grow dramatically. a stronger, growing root system will make your plant happier & grow faster. it will also prevent diseases by taking care of roots that have been damaged from over watering & are thus unable to absorb water.
what i love is that sometimes during repotting you may end up with more green babies. some plants can be divided up to make new plants. spring time is a great time to divide offshoots + pups so they can live their own lives as independent plants.

One thought on “051. repotting the plants”